
How to Adjust an Omega Bracelet Video
Please see below the full video tutorial for this process. Please like if you find it useful and don’t forget to subscribe. I have outlined a step by step guide below also with some extra helpful hints.
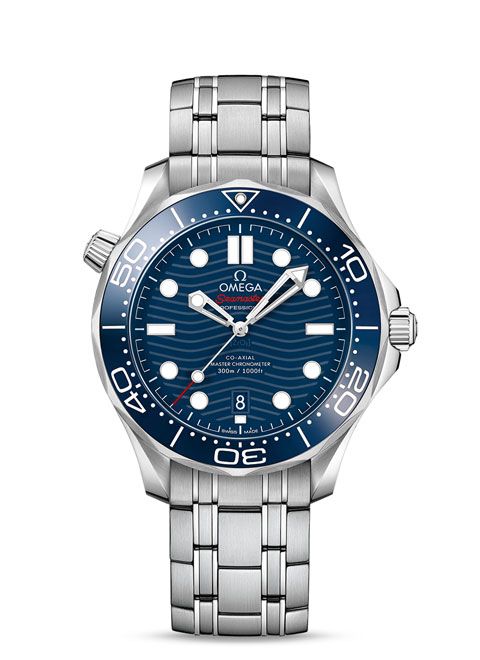
The Omega Bracelet
This process covers the the latest Omega bracelets fitted to Omega Sports watches including all Seamaster and Speedmaster Ranges. The technique can be applied to any screw and pin bracelet.


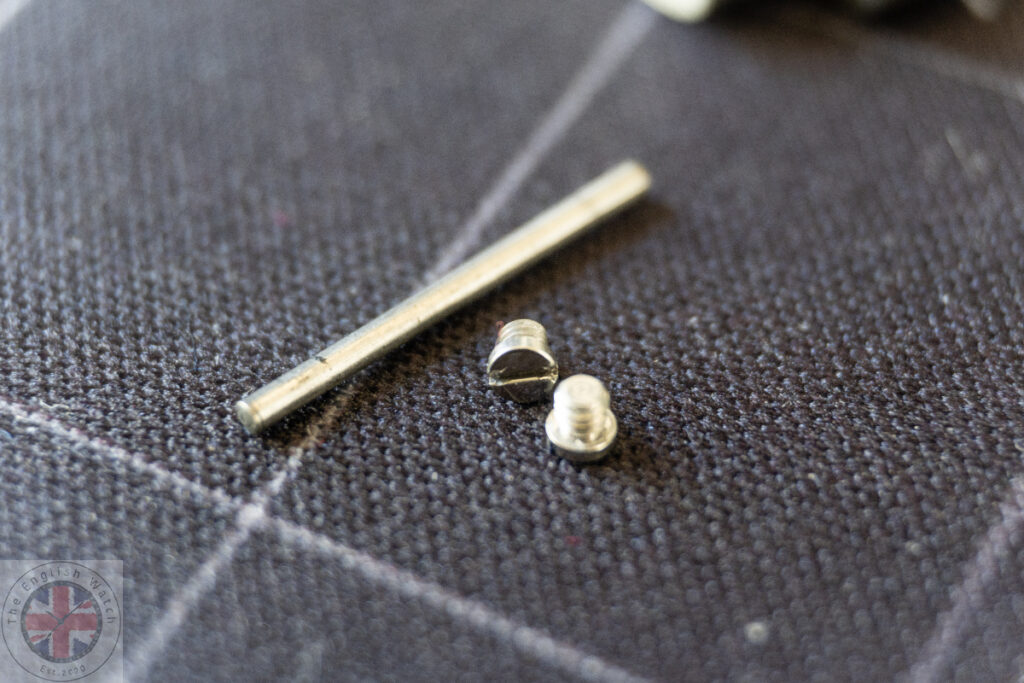
Omega use a different system to Rolex and Tudor. Instead of a pin that goes all the way through the bracelet with a single threaded part, Omega use separate cap screws and a loose retaining pin (below).
This means there are more parts involved and the process of re-fitting the small cap screw is fiddly.
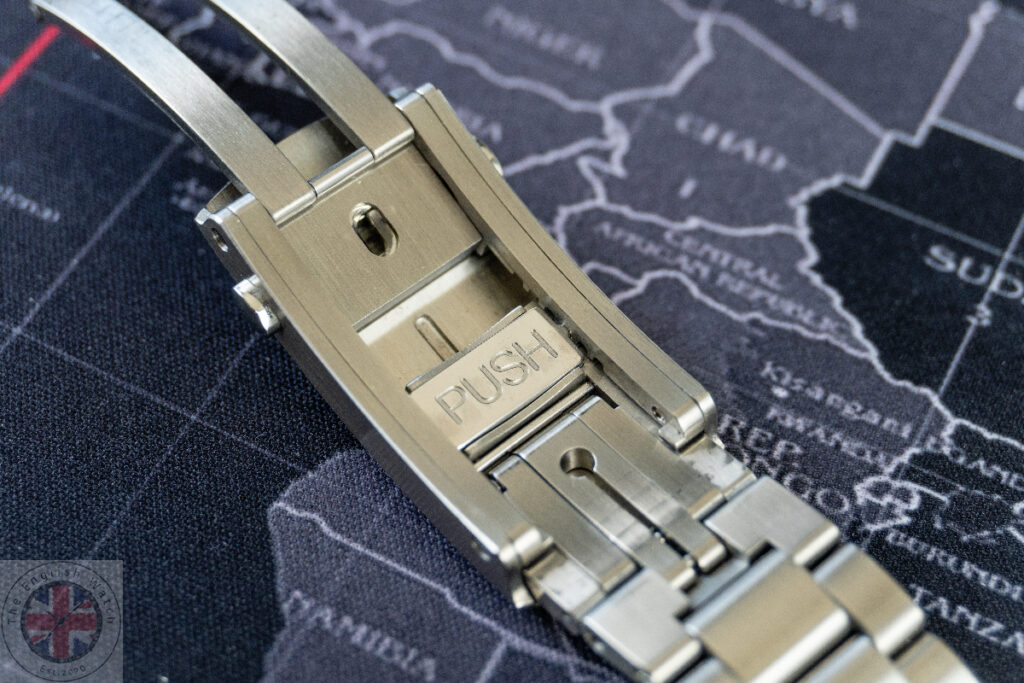
Before sizing your bracelet by adding or removing links, set the slide adjuster (below) to the centre if you have this feature.
If you have a Speedmaster Professional, set the adjustment to the inner hole. For older Seamster 300’s without adjustment, make a judgment based on how swollen your wrist may be to judge how many links to add or remove.
Tools to Safely Remove Links
To keep your watch safe and prevent scratches, I highly recommend you tape over the screw using polyimide tape. Refer to the Hints & Tips page for details.
Step 1 - Protection
Protect the Bracelet with a microfibre cloth. I use a lens cloth from my spectacles. To support the watch, press into a strap changing block. This will keep things nice and steady.
At this point, tear off some tape and place over the screw you wish to remove. Ensure you cover 10mm or so either side to protect the polished end link.
Step 2 - Unscrew the Cap Screw Carefully
Take care and don’t allow the screwdriver to jump out or wind up out of the screw. This will damage the screw head.
Once the screw has started to rotate, you can unscrew completely. As it comes out, it will break out through the tape. The screw is very short, so careful it doesn’t drop out unexpectedly.
Carefully remove the screw and place in a cup or somewhere safe. If there is any white thread lock on the end of the screw threads, clean this off with a rag or toothpick.
Once removed, follow the same instructions to remove the opposite screw.
Step 3 - Remove Pin
If you are lucky, you can lightly tap out the pin with only one screw removed. I have only been lucky once. If this doesn’t happen, remove both screws and use a strap tool or toothpick to push the pin out.
Step 4 - Add or Remove Links
If you need to remove a link, follow these steps again to remove the second set of screws and link pin. Adding a link is easy, but you will need to ensure you have a spare link, pin and screws at hand.
Insert the screw or screws and secure by a few turns.
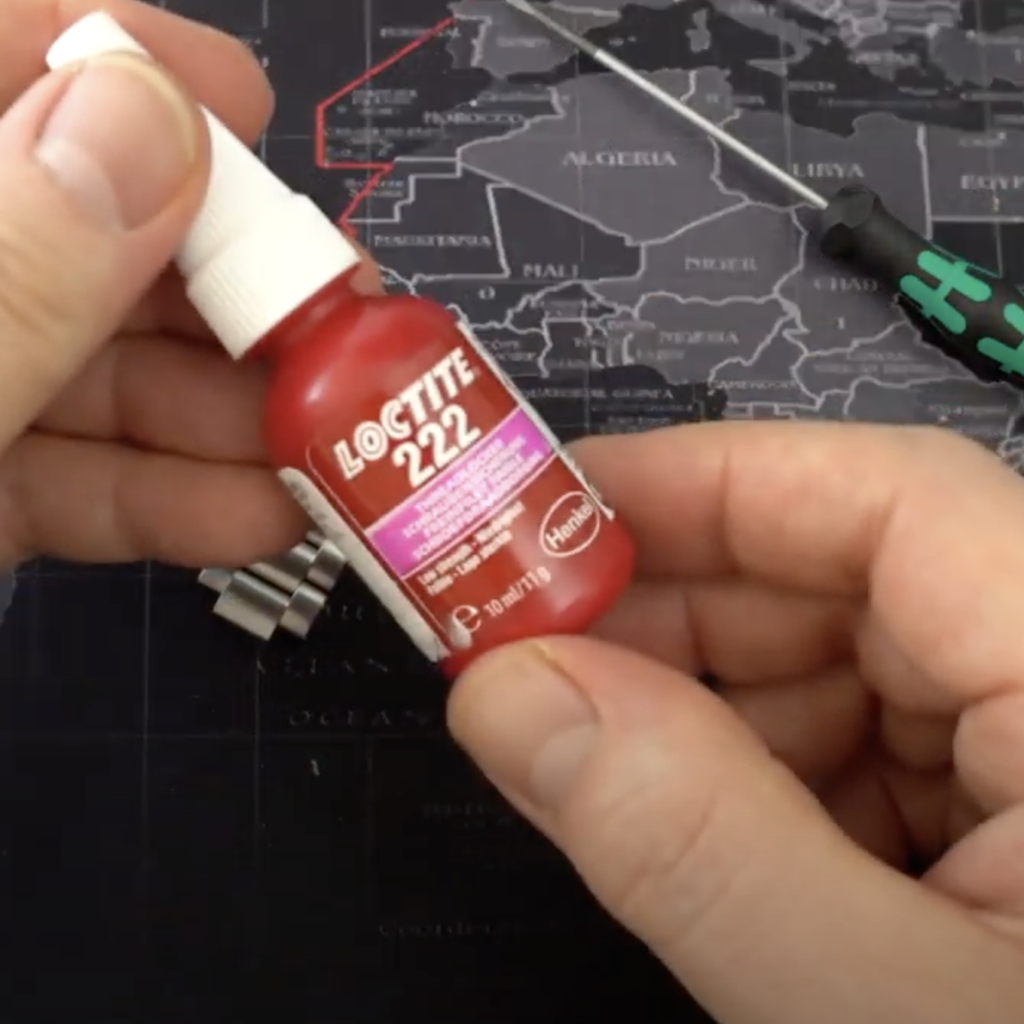
Step 5 - Apply Thread Locker
It’s advisable to apply thread locker so you don’t have to over tighten the screw. Use a low strength version such as Loctite 222.
Once applied locate the cap screw and tighten down carefully. No need to add too much force as the thread lock will hold the screw.
Step 6 - Final Assembly
Before you insert an extra link, ensure the hole on the narrow part is closer to the wrist (below). The hole is off-centre so makes a difference to how the bracelet moves.
Insert the pin to tie the links together and then allow the bracelet to fold over your finger. This will inform if the link has been inserted correctly. If a link is inserted upside down, the bracelet will not fold correctly.

Step 7 - One More Screw
Follow Step 5 again for the second screw. The thread locker holds the screw in place, but take care not to cross thread it. Again, tighten down fully, but don’t apply too much force at the end. Apply some tape over the screw head for the final tweak, just in case.
Remember, the thread locker does the hard work for you. Wipe off any excess thread lock with a rag and leave to cure over night.
Step 8 - Enjoy Your Watch
Congratulations. You are now able to wear your Omega. If you happened to damage one of the screws in the process, try using one of the spares from the extra links. Alternatively, drop into your local AD and ask them to order you some spares. Removing the screws is where the damage is done, so if you have new screws to re-fit, this is the best option.
Please check out my other Hints and Tips articles and videos and leave any comments. Let’s talk about your experiences and share tips.