
How to Adjust a Rolex Bracelet Video
Please see below the full video tutorial for this process. Please like if you find it useful and don’t forget to subscribe. I have outlined a step by step guide below also.
The Rolex Bracelet
This process covers the the latest Oyester and Jubilee bracelets fitted to Rolex watches. The technique can be applied to any screw and pin bracelet, including older Rolex watches and Omega’s.


Before sizing your bracelet by adding or removing links, set the glide locks to the centre if you have this feature.
If you have a GMT or Datejust, assess if your wrist is swollen or not and set the 5mm extension accordingly. This will ensure if your wrist shrinks or grows during the day, you’re able to losen or tighten.
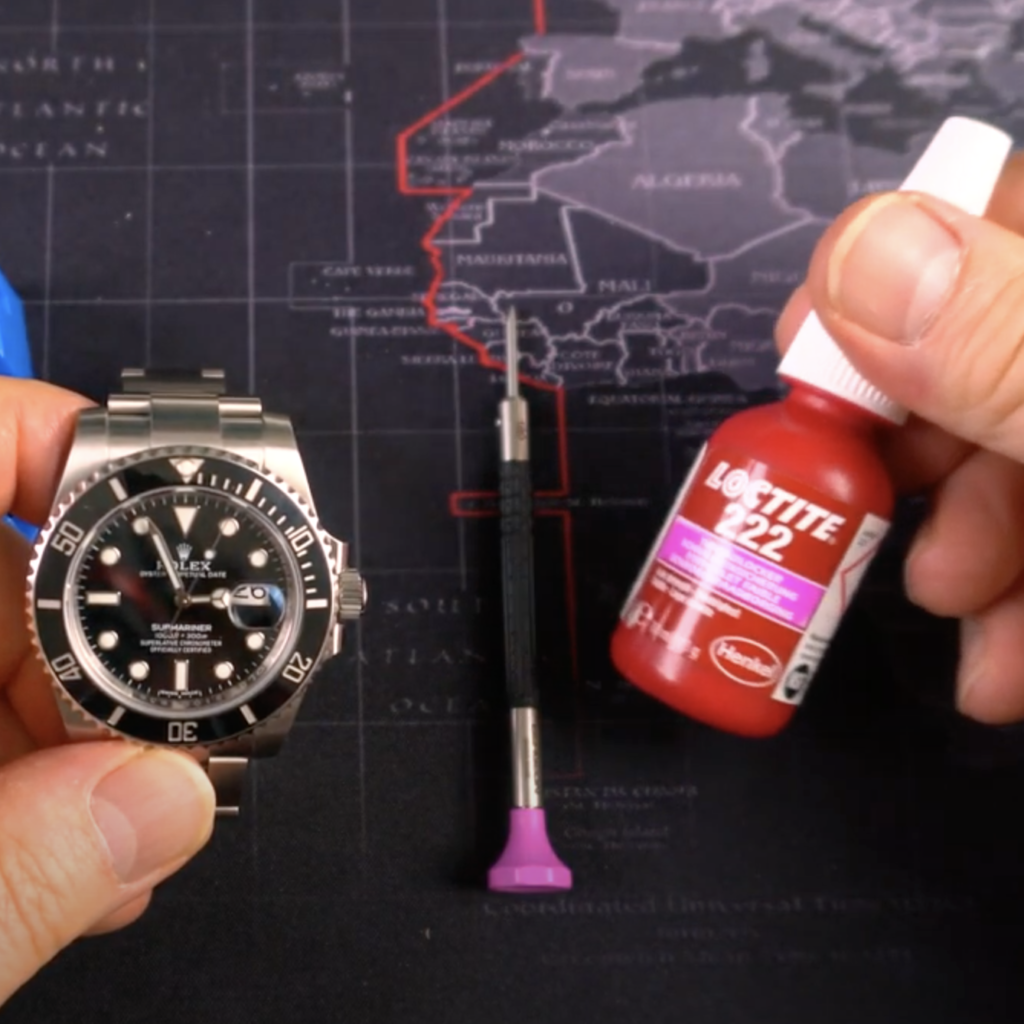
Tools to Safely Remove Links
To keep your watch safe and prevent scratches, I highly recommend you tape over the screw using polyimide tape. Refer to the Hints & Tips page for details.
Step 1 - Protection
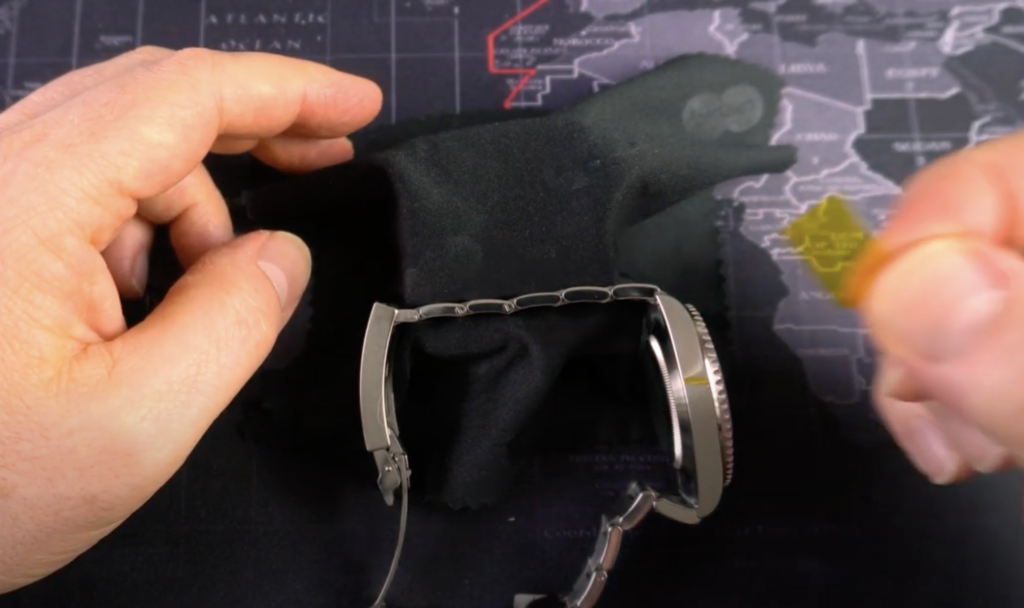
Protect the Bracelet with a microfibre cloth. I use a lens cloth from my spectacles. To support the watch, press into a strap changing block.
At this point, tear off some tape and place over the screw you wish to remove. Ensure you cover 10mm or so either side to protect the polished end link.
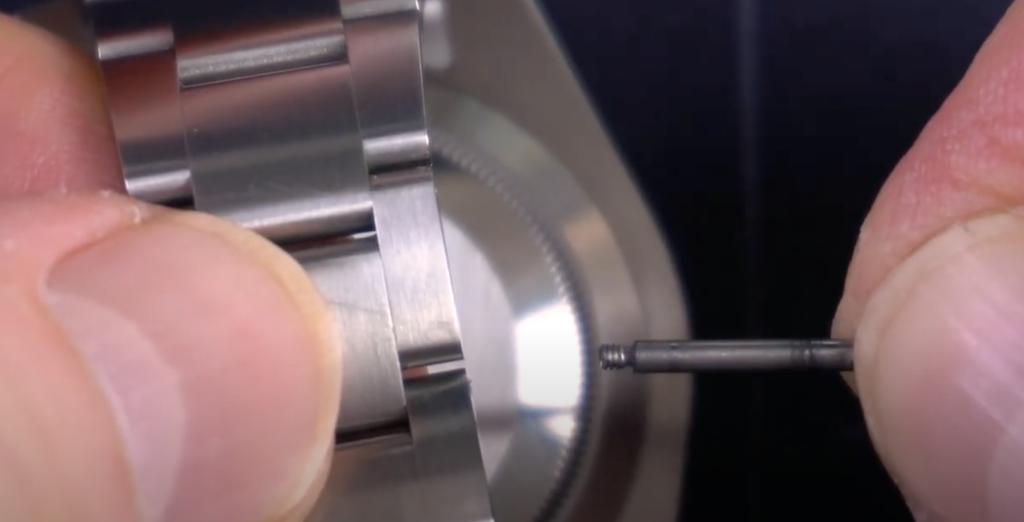
Step 2 - Unscrew the Pin Carefully
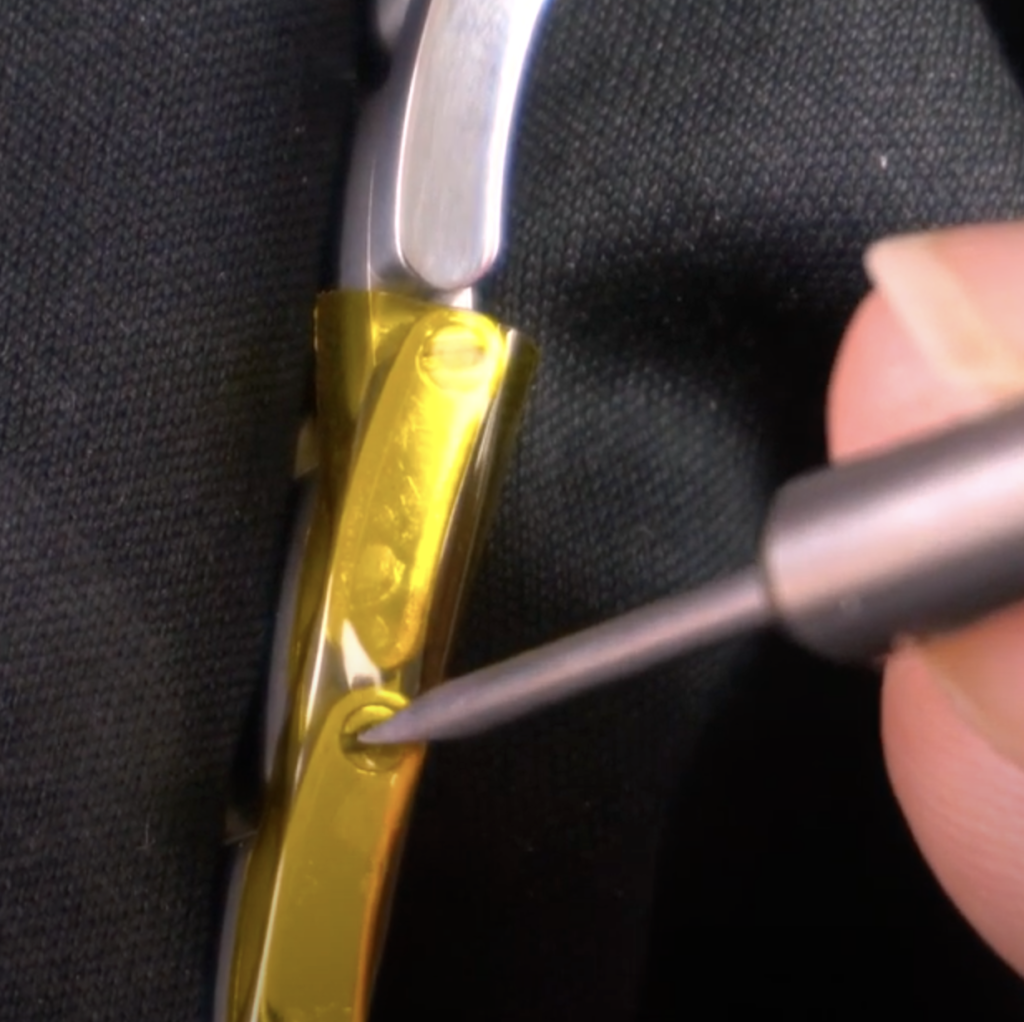
Take care and don’t allow the screwdriver to jump out or wind up out of the screw. This will damage the screw head.
Once the screw has started to rotate, you can unscrew completely. As it comes out, it will break out through the tape. To remove the screw, you may need to remove the bracelet from the block. The tolerances on Rolexes bracelets are excellent, so the slightest pinching may prevent the screw pulling out.
If there is any white thread lock on the end of the screw threads, clean this off with a rag or toothpick.
Step 3 - Add or Remove Links
If you need to remove a link, follow these steps again to remove the second screw. Adding a link is easy, but you will need to ensure you have a spare link and screw at hand.
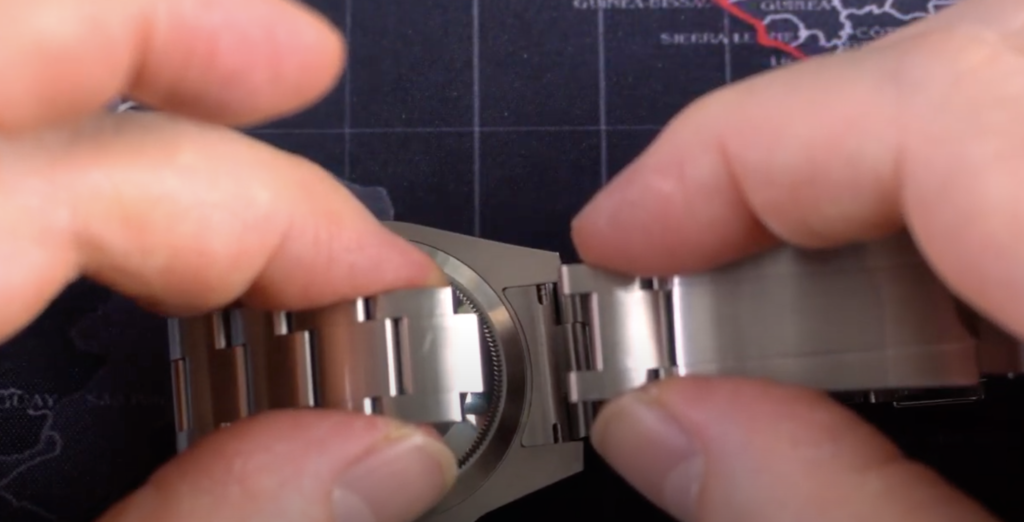
Insert the screw or screws and secure by a few turns.
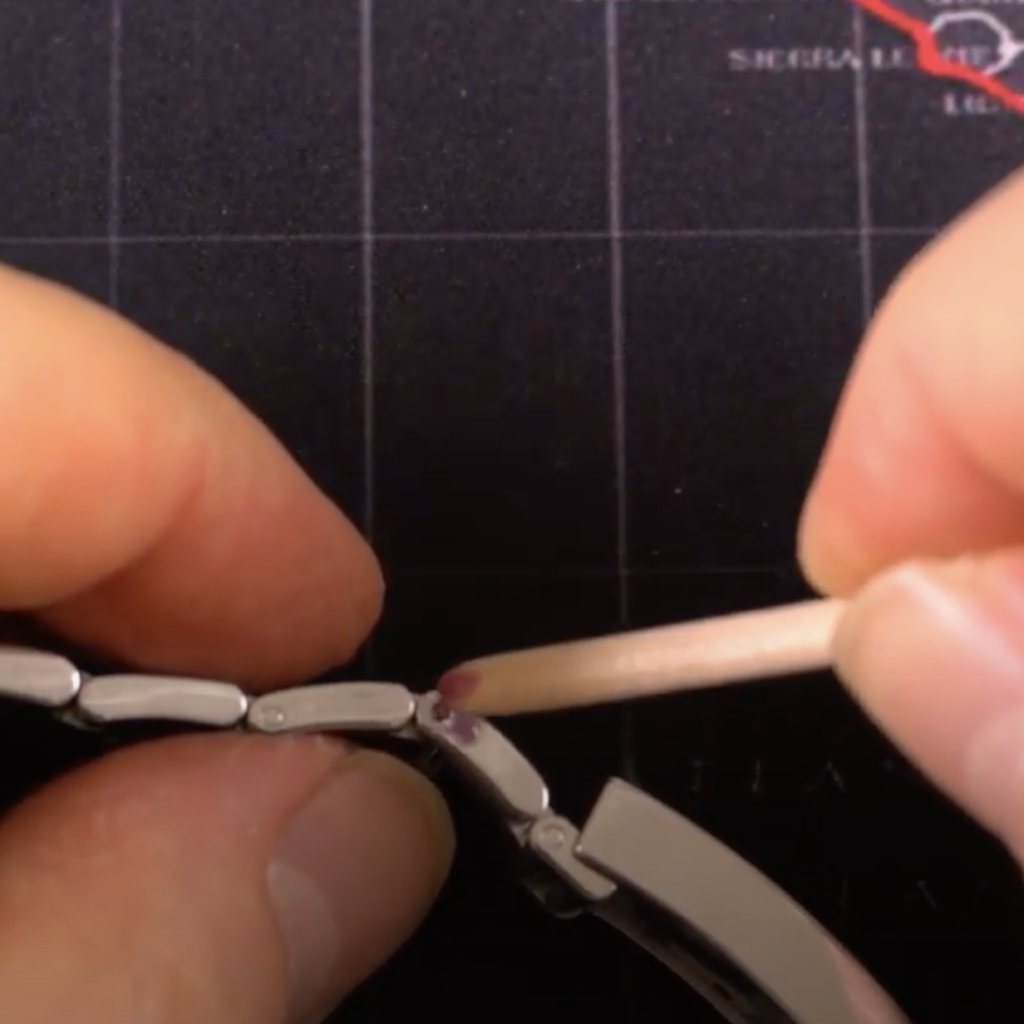
Step 4 - Apply Threadlocker
It’s advisable to apply thread locker so you don’t have to over tighten the screw. Use a low strength version such as Loctite 222.
Apply using a non-metallic tool and push into the open threaded hole.
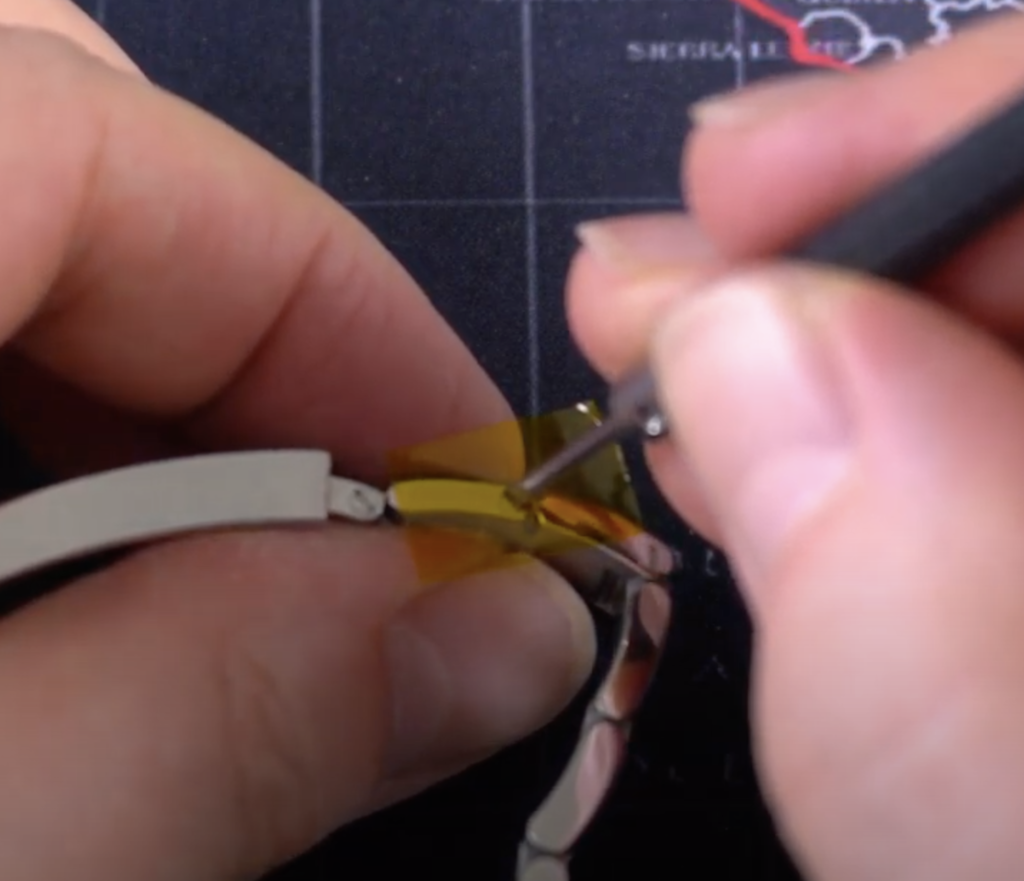
Step 5 - Final Tightening
You can now turn the bracelet back over and tighten the screw. You can apply more tape around the screw if you are not confident. The screw should tighten down very easily and when you start to feel resistance, stop.
This is now the last critical point. As you have used thread locker, there is no need to over tighten, so don’t be tempted. Wait for the screw to stop turning, and then apply tape over the screw head. Break the tape with the screwdriver head as before and apply a very small amount of torque and then stop. The thread locker should do the rest once it cures. Allow over night for this. Wipe off any excess thread locker with a rag.
Step 6 - Enjoy Your Watch
Congratulations. You are now able to wear your Rolex. If you happened to damage one of the screws in the process, try using one of the spares from the extra links. Alternatively, drop into your local AD and ask them to order you some spares. Removing the screws is where the damage is done, so if you have new screws to re-fit, this is the best option.

Please check out my other Hints and Tips articles and videos and leave any comments. Let’s talk about your experiences and share tips.